Configure Bridges using the Cedalo MQTT Platform
To configure bridges with the Cedalo MQTT Platform, navigate to the broker you want to modify via the Project Overview.
Then select the Bridges navigation entry. You will be guided to a page, that displays an overview of bridges supported
by Pro Edition for Eclipse Mosquitto.
Bridges Overview
The Bridges Overview lists the bridges in three categories:
Active
Bridges that are included in your license, activated in the mosquitto.conf, and provide an MQTT Control API.
Disabled
These bridges are supported by the UI, but are currently unavailable for one of the following reasons:
- They are not included in your current license.
- They are part of your license, but not yet activated in the
mosquitto.conf.
Broker-only (UI Support Coming Soon)
These bridges are already supported by the broker and can be configured manually, but UI integration is not yet available. Support for managing these bridges via the UI is planned in a future release.
Below is a typical list of bridges:
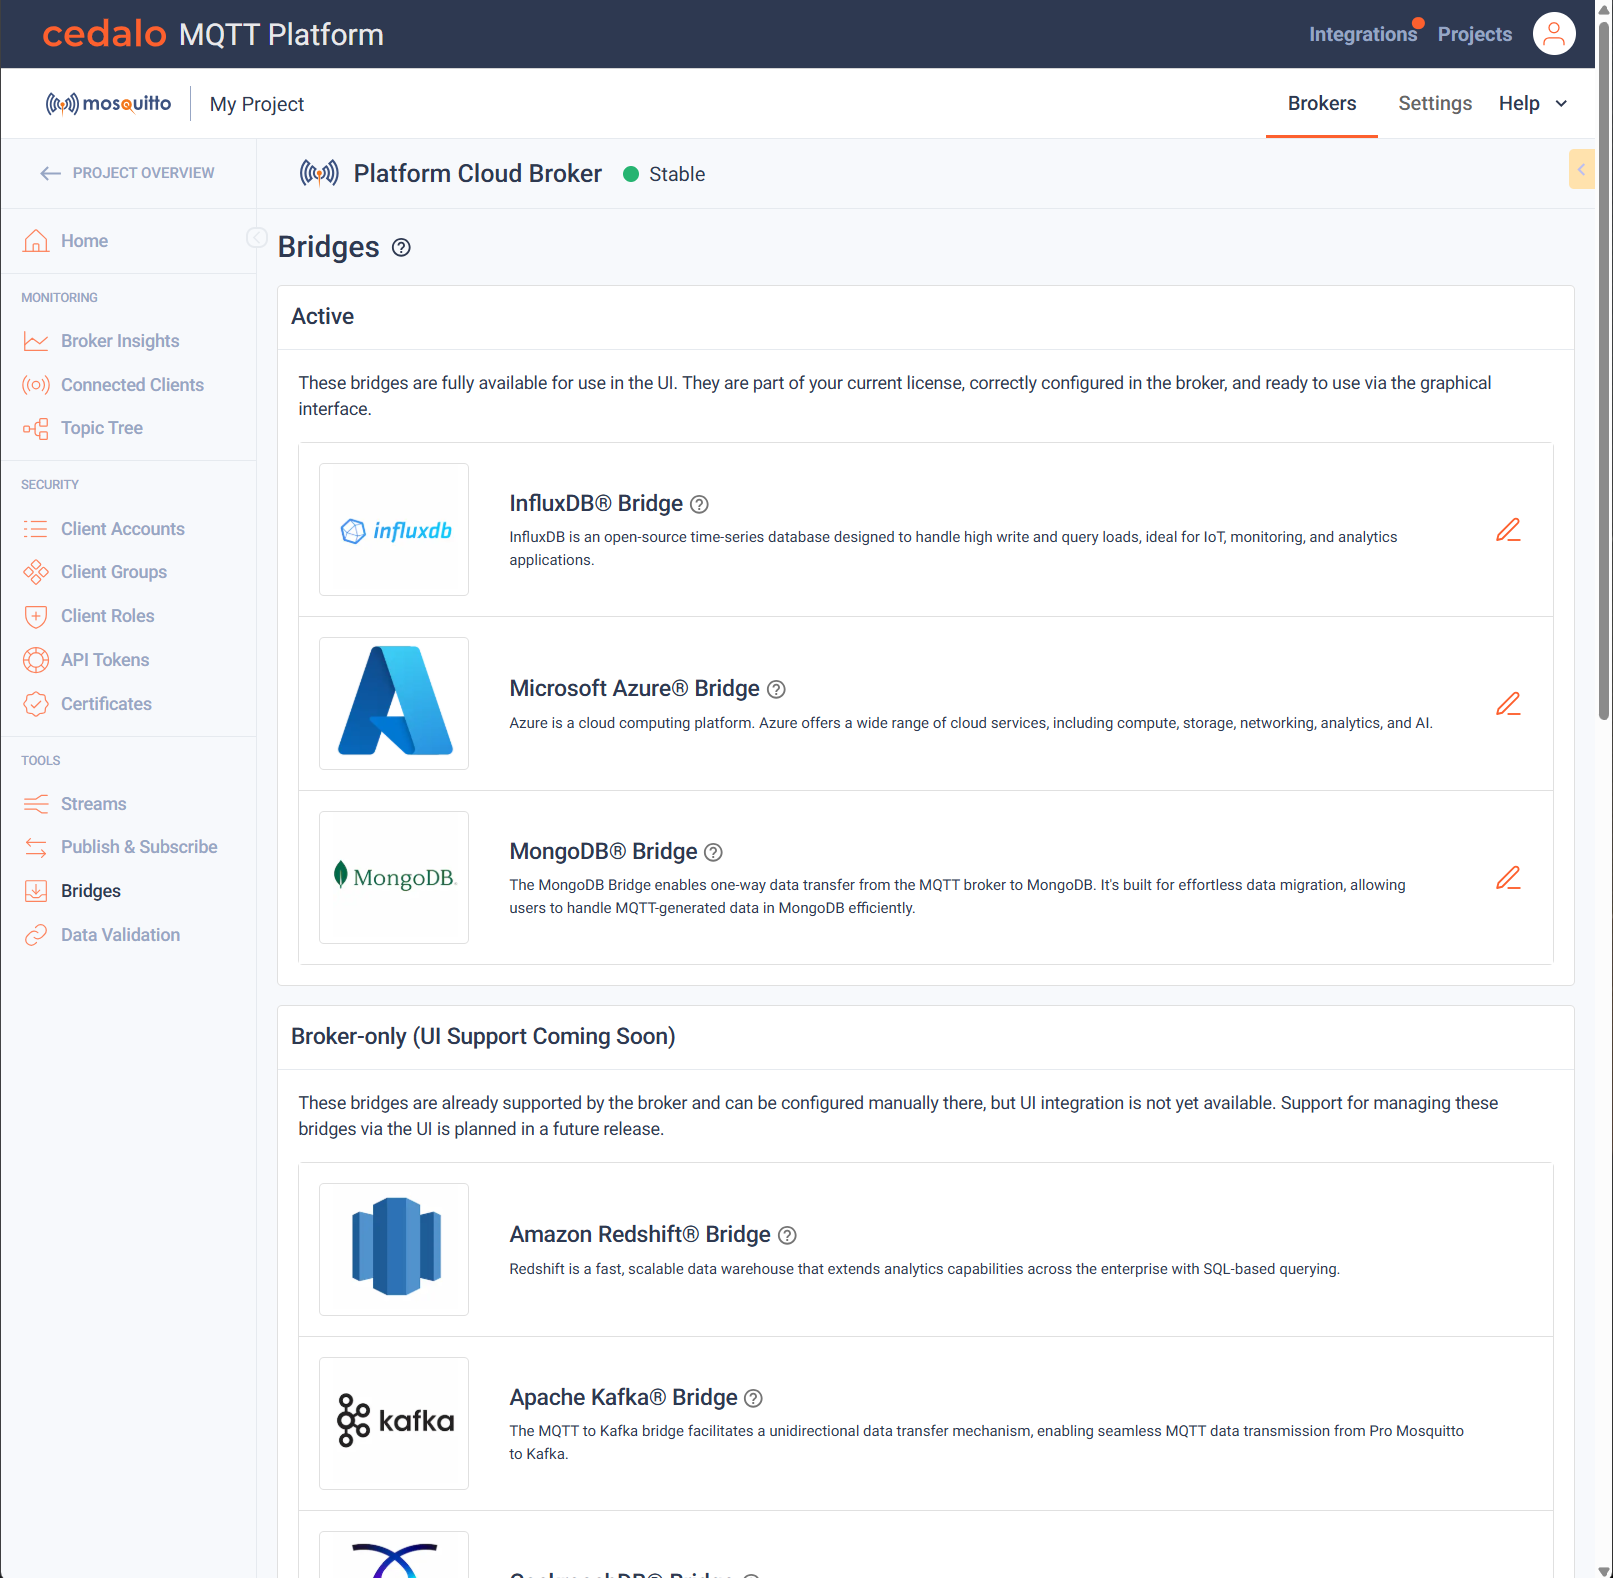
If you want to modify the bridge configuration click on the edit icon to the right of the bridge. This is only available for 'Active' bridges. You will then be guided to the configuration screen.
Bridge Configuration
The bridges configuration user interface is generated from the JSON schema of the respective bridge. Therefore,
the user interface may vary across bridges. For the MongoDB Bridge, the configuration page looks as follows:
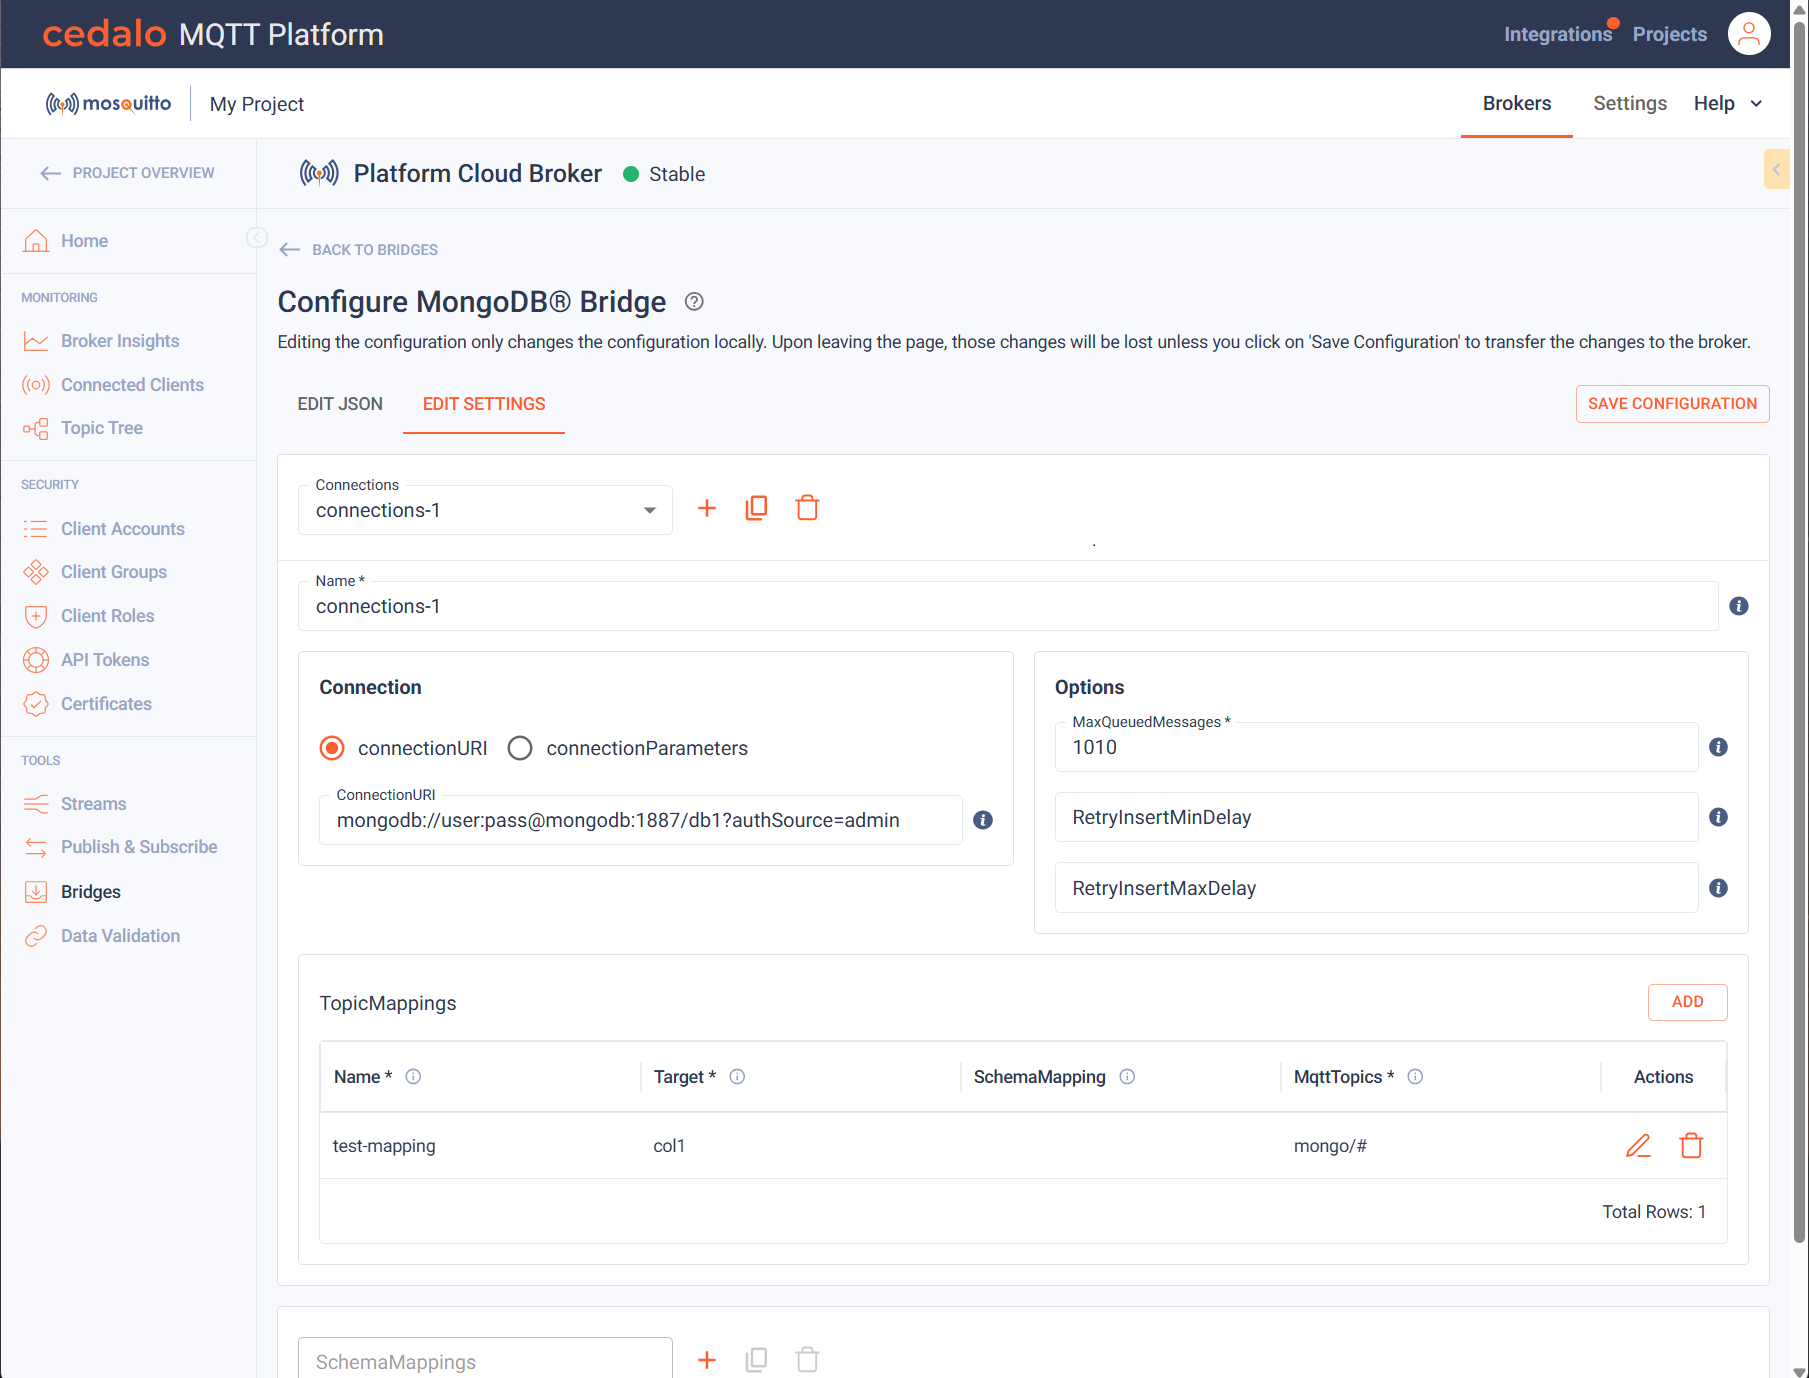
Moreover, a description of the user interface elements that are equal in all config pages is provided. The individual fields for each bridge can be explored in the description of the configuration of each bridge.
The user interface offers two configuration modes. Selecting Edit Settings opens an interactive menu with neatly
organized form fields. Alternatively, Edit Json provides a JSON editor for directly modifying the raw contents of the
config file. By default, Edit Settings is selected.
Please be aware, that the changes to a configuration must explicitly be saved before leaving
the screen. This is achieved by click on the Save Configuration Button at the top right. If a change is made, the
title of the button is followed by an asterisk.
Edit Settings
On the Edit Settings menu you are supported by a dedicated entry screen for the configuration. This screen provides
user interface elements for the fields of the config scheme of the respective bridge.
For top level sections of the config, a separated selection box is displayed to edit them. By clicking on
the Add, Copy or Delete buttons right next to the selection box, you can modify the list content.
An example is the connection object, that is needed to connect to a service. The config allows to define multiple
connections to a service, which can be reused within other areas of the configuration. The object needs a name to be
referenced.
Under this name you can define the settings for that connection object, which usually include authentication parameters.
By changing the sections below the array selection, the content of the array item can be modified. For most of the items, a tooltip is provided to give you some additional infos for that item.
Edit JSON
If you selected the Edit JSON option, a JSON Editor is displayed with the raw configuration file:

Simply edit the JSON to make your changes. Whenever your entries have a syntax error or conflicts with the specific
schema for the bridge, an error is displayed below the JSON editor. In this case, you cannot switch to Edit Settings
or save the configuration until the error is fixed.