Client Accounts
This section describes how to create client accounts in order to connect clients to the broker using the Platform UI. A client account defines the connection details of a client (name, password, client id) and sets the access rights of a client, when connected to the broker, by defining role(s) of a client and groups, a client can belong to a client account can be used for multiple clients as long as no fixed client id has been set.
First navigate to "Client Accounts" within the MQTT Platform navigation. Then the client overview page is opened.
Clients Overview
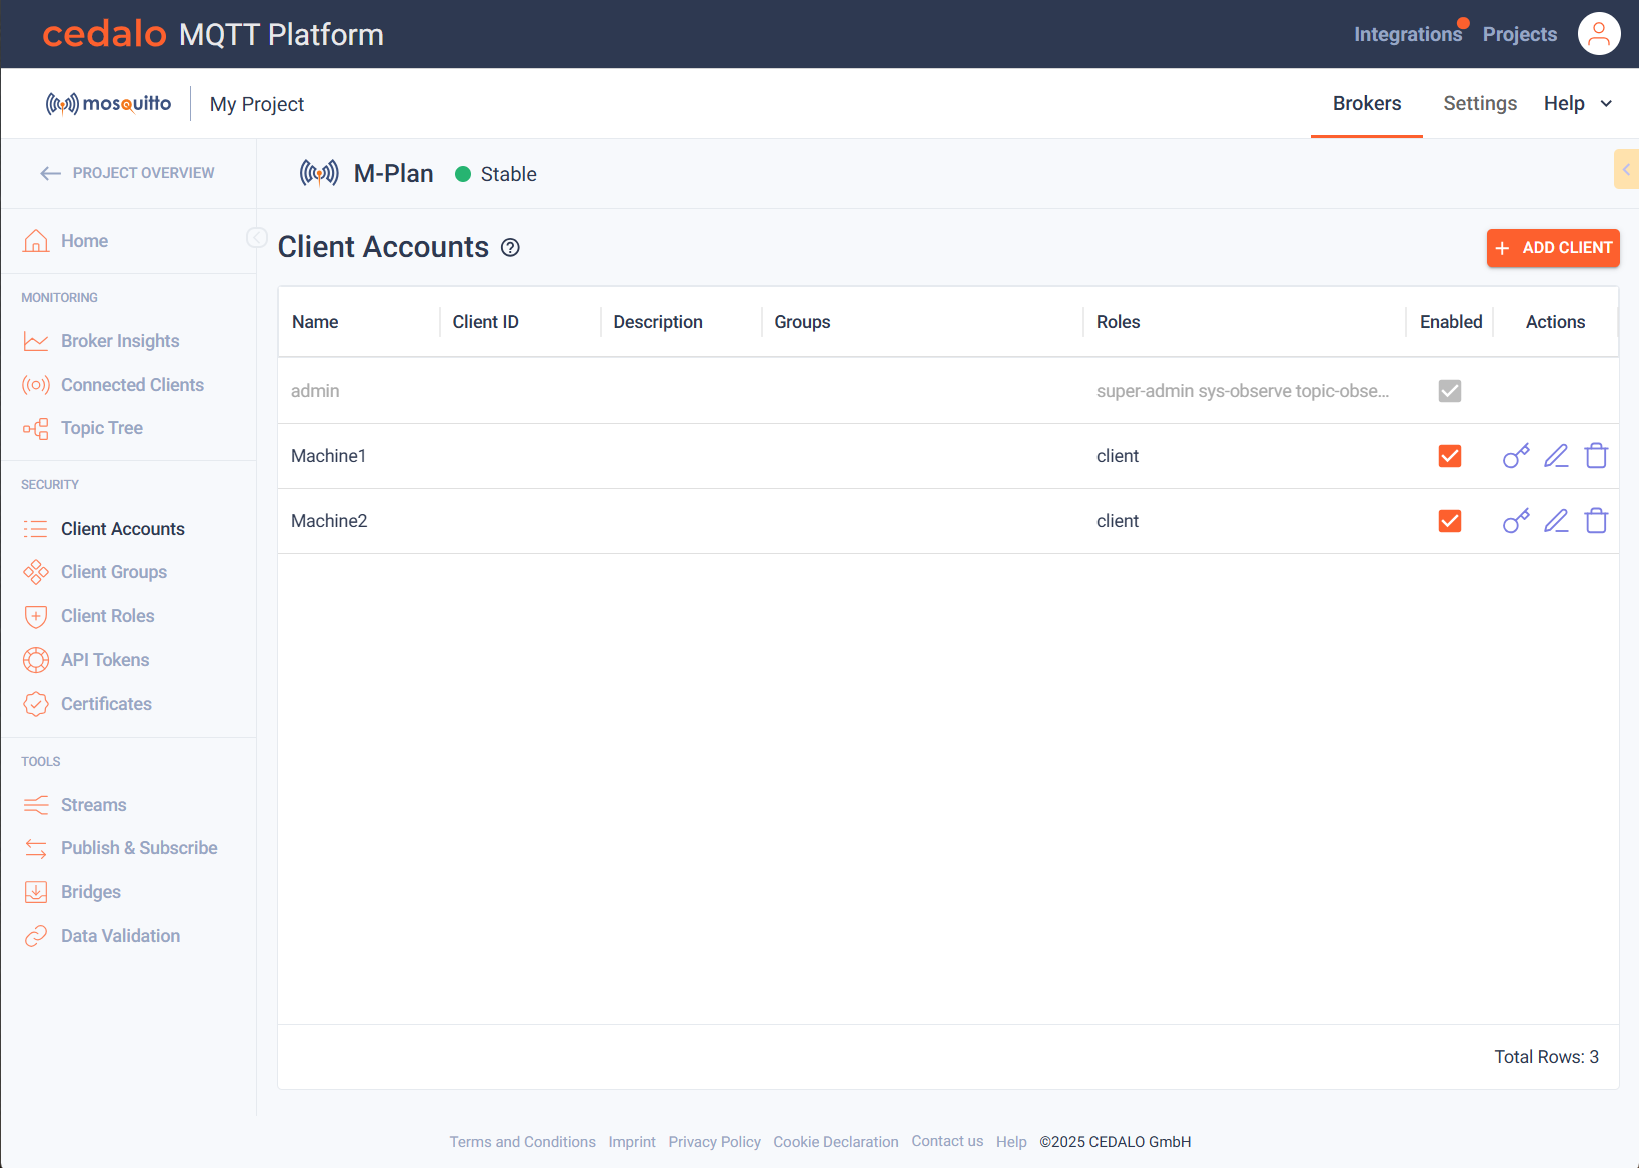
The client overview lists all clients showing their name, id, text name and description. In addition, you can view and assign the group(s) the client belongs to and view and assign the role(s) of the client.
Following a sample client table listing some sample clients:

Create client
To create a client, click on the "Add Client" Button on the top right. After that a client is added to the client table in the top row.
Now you can edit the following client properties:
- Name: The name of the client, i.e., the name that is used for login. This name has to be unique!
- Client ID: The client id. If set, the client account needs to use that exact id for the connection. Leave empty to allow any client id for the connection. Note: Client ids have to be unique. A client connecting using the same client id as an already connected client, will force the broker to disconnect the connected client.
- Description: A description for the client.
- Groups: Open the dropdown box and select one or more groups from the list that the client is assigned to.
- Roles: Open the dropdown box and select one or more roles from the list.
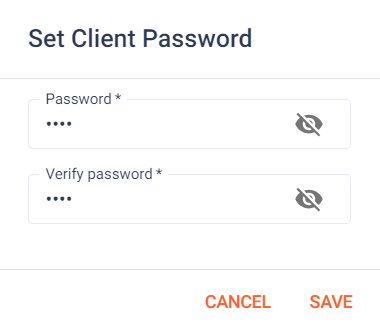
After filling out the rows fields, press the save button in the actions column to create the new client. Then a dialog appears to assign an initial password for the new client. Please enter that and confirm your choice.

A client will only be actually usable, if some kind of role is assigned to the client. This could be directly or indirectly over a group, which has assigned roles. The defined ACLs in a role determine the rights of a client. If no role is assigned, the "Default Access control" is used.
Modifying or deleting a client.
In the actions columns, you have the following options, when you are not in edit mode:
Click on the "Edit" button in to change the properties, which are explained above. If you are in edit mode, you have the following options:
It is not always needed to delete a client. If you want to temporarily disconnect a client, go to the client inspection table to connect or disconnect a client.
Configuring default access
The initial configuration sets the default ACL type behaviors to:
publishClientSend: denypublishClientReceive: allowsubscribe: denyunsubscribe: allow
You can edit the default settings by clicking on the "Edit Default ACL Access" icon on the Roles page.
On-Premises Configuration
The role-based authentication system in Pro Edition for Eclipse Mosquitto is managed through the Dynamic Security plugin. This setup includes the configuration of client accounts, roles, and groups. By default, the plugin is pre-configured and ready to use.
To utilize the Dynamic Security plugin, it must be properly enabled in the broker's configuration, and an initial plugin configuration file must be created.
Enabling the Plugin
To configure the broker to use the Dynamic Security plugin, add the following lines to your Mosquitto configuration (mosquitto.conf) file:
Linux/Docker:
plugin path/to/mosquitto_dynamic_security.so
plugin_opt_config_file path/to/dynamic-security.json
Windows:
plugin path\to\mosquitto_dynamic_security.dll
plugin_opt_config_file path\to\dynamic-security.json
The dynamic-security.json file is where the plugin configuration will be
stored.
Configuration Recommendations
It is recommended to set per_listener_settings false when using this plugin so that all listeners share the same authentication and access control settings.
If you plan to use the Cedalo MQTT Platform UI, make sure to create a user with the appropriate ACLs to interact with all activated plugins. The default dynamic-security.json file includes a comprehensive set of roles and an admin client account, which is pre-configured with all necessary roles to get started.
Required ACLs for Dynamic Security Plugin Interaction
To manage the Dynamic Security plugin effectively, you must ensure that the following ACLs are configured:
- publishClientSend:
$CONTROL/dynamic-security/#— Allows the client to control the Dynamic Security plugin. - publishClientReceive:
$CONTROL/dynamic-security/#— Permits the client to receive information from the plugin. While this is not required in the default setup, it should be included if the defaultpublishClientReceivebehavior is set todeny. - subscribePattern:
$CONTROL/dynamic-security/#— Grants the client permission to subscribe to and receive information from the plugin.