Adding a Cloud Broker to an Existing Project
To add a cloud broker to an existing project, navigate to the desired project, and click the Add Broker button in the project overview to see the list of existing brokers.
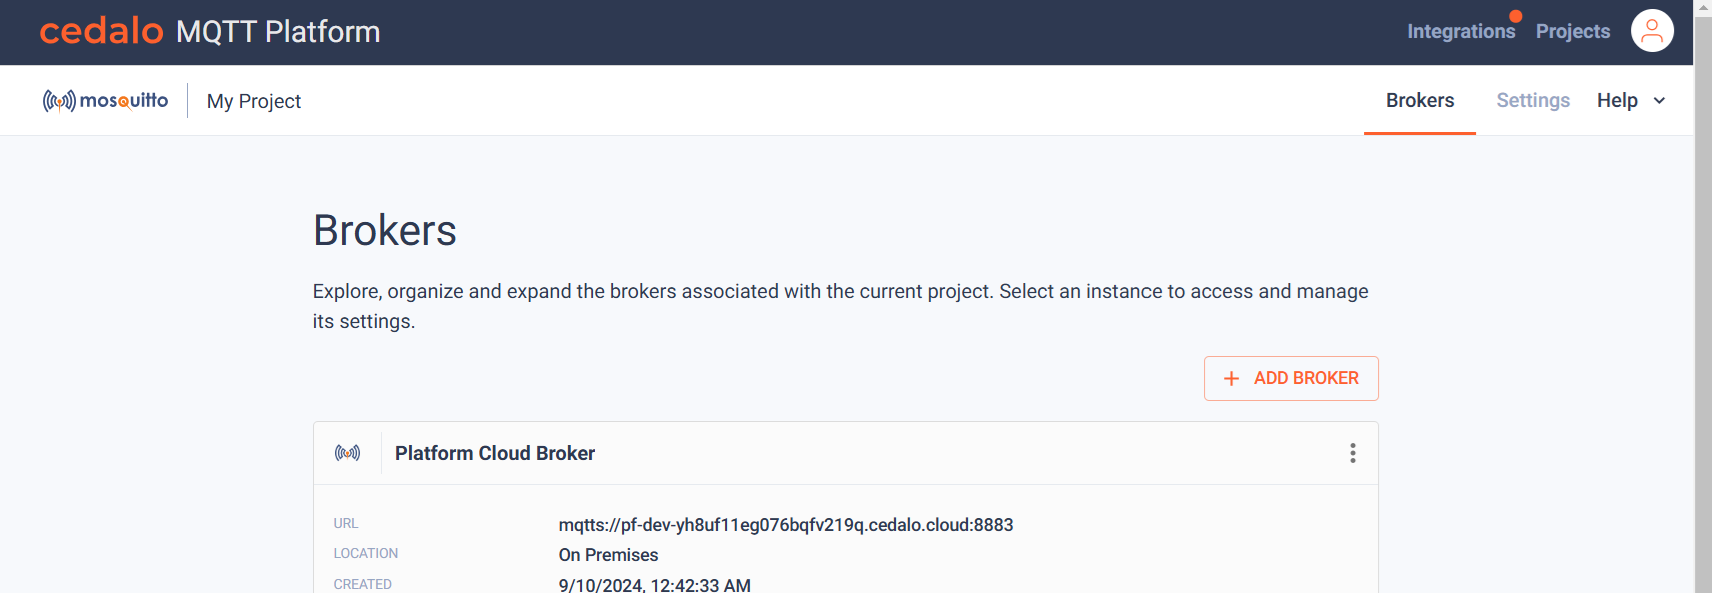
Step 1: Selecting a License Plan
After clicking Add Broker, a page with various license options appears:
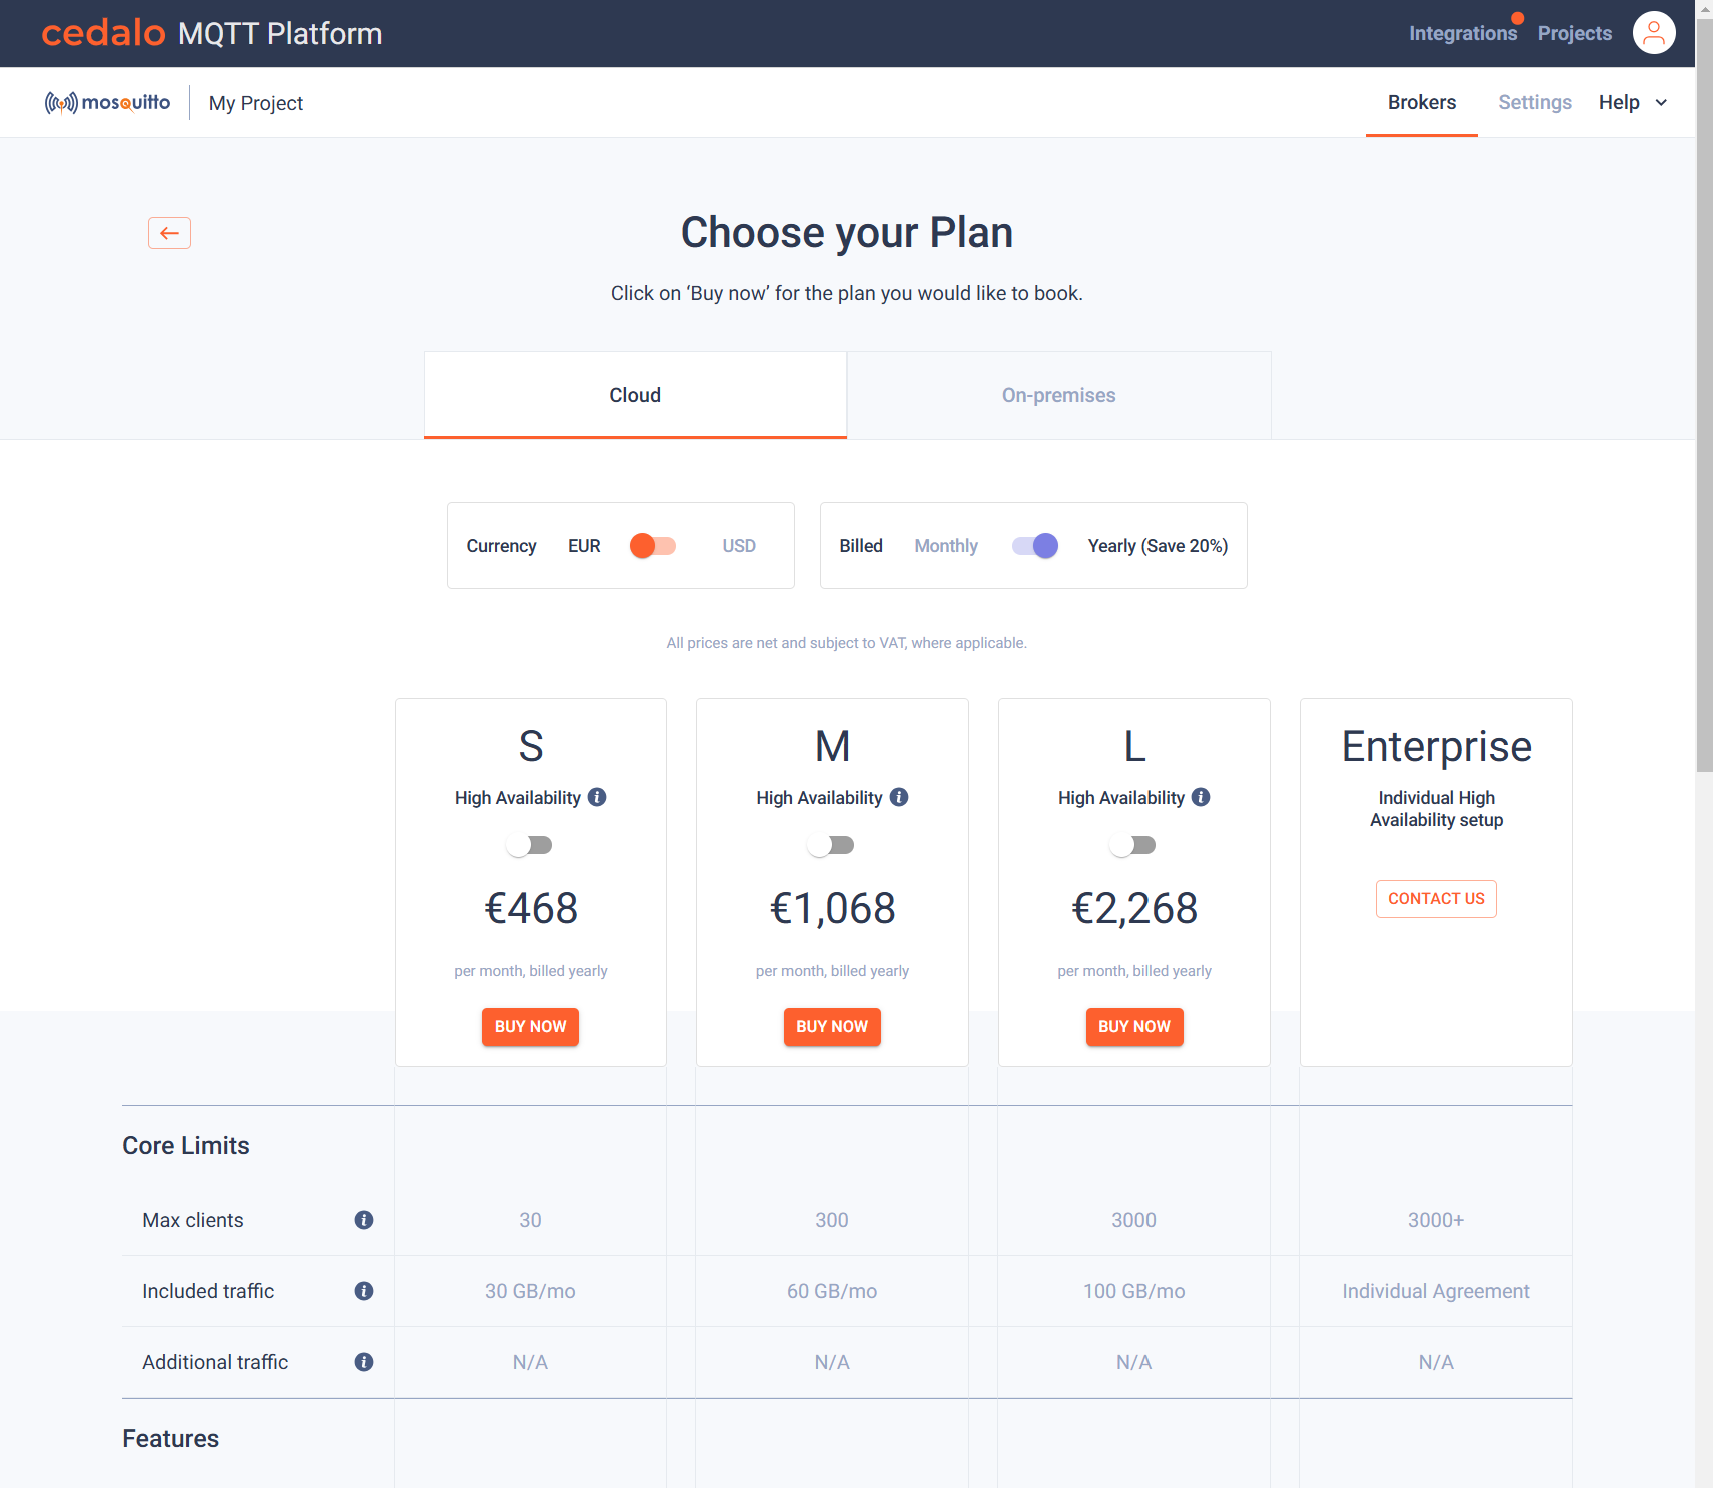
At the top of the page, you can choose between a Cloud Broker or an On-Premises Broker. Since we are booking a cloud broker, keep the current tab active. Next, select your currency and choose monthly or yearly billing. Note that yearly billing includes a discount. If you’ve booked a broker before, the previous currency is pre-selected and cannot be changed.
Within the plans, you have the option to book a High Availability broker, which ensures fail-safety using multiple broker instances. If you need a custom installation, select the Enterprise option and contact us directly. Otherwise, select one of the available plans by clicking the Buy Now button.
Below the plan options, you can compare the limits and features of different plans. Scroll down to view more details. This section can be expanded or collapsed using the arrow button in the middle. Additionally, you’ll find a section with Frequently Asked Questions at the bottom of the page.
Step 2: Providing Additional Information
After choosing your plan and confirming it, you’ll need to provide some additional information:
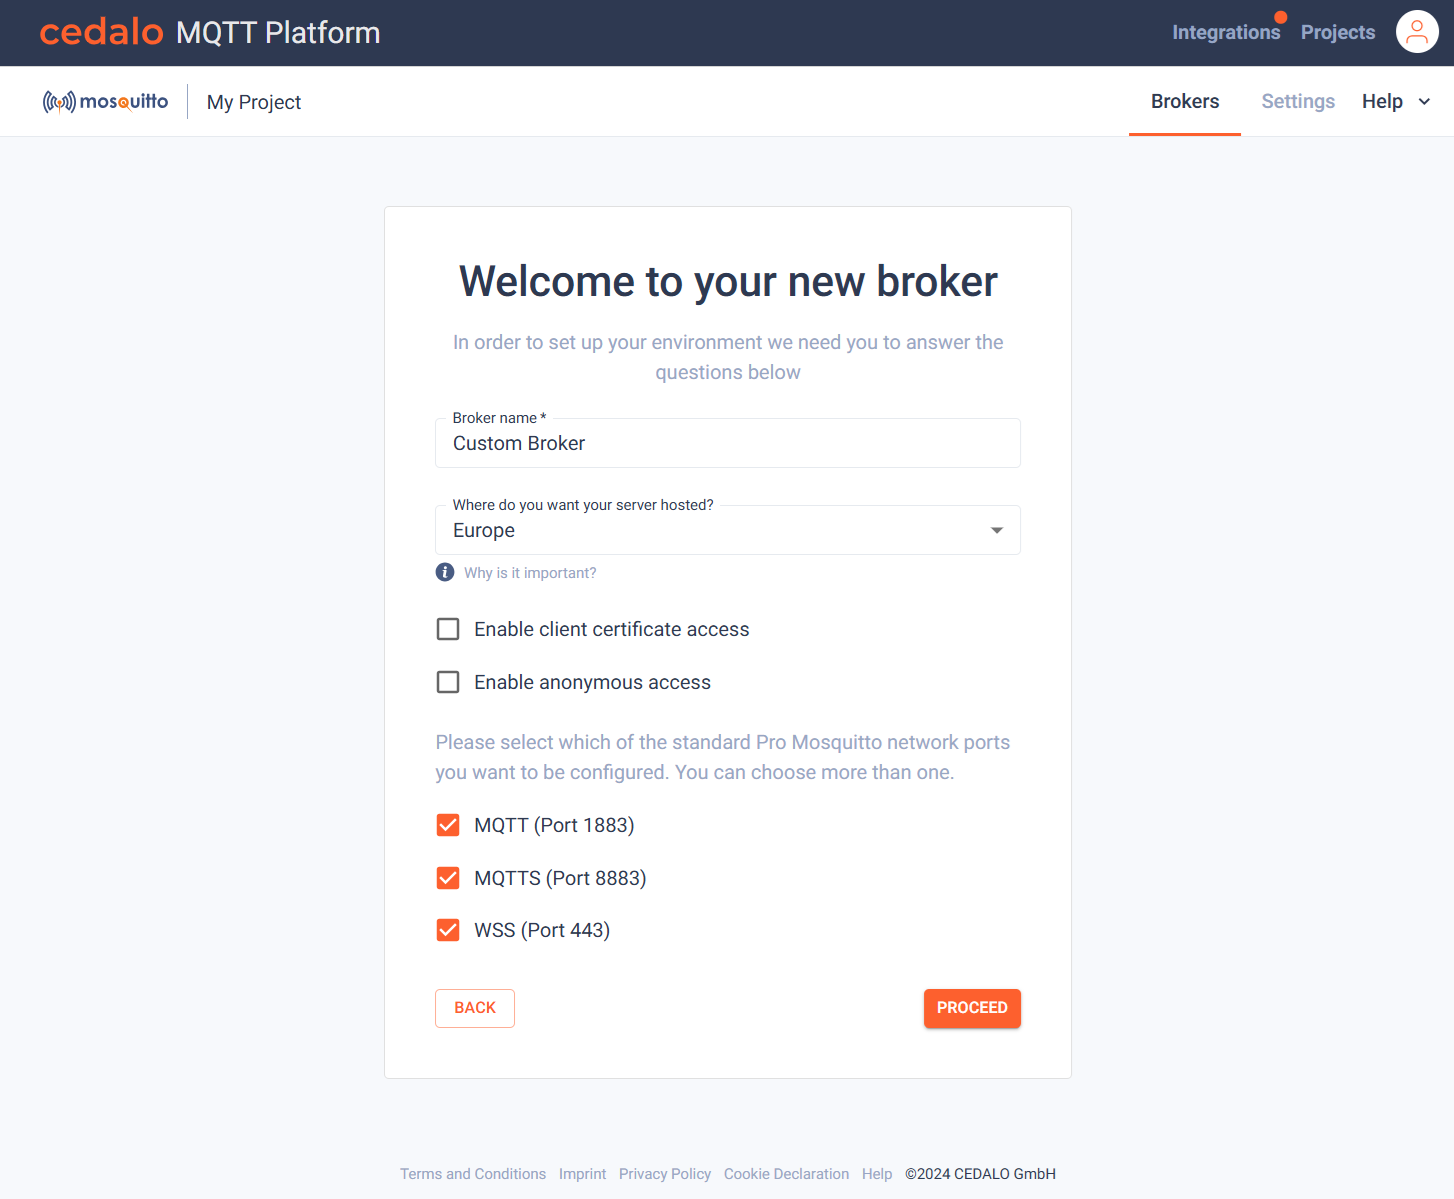
- Broker Name: Enter a name to identify the broker within the platform.
- Region: For cloud brokers, select a region for hosting. Choosing a region close to your users can improve performance.
- Access Type: Decide between client certificates or anonymous access (both options cannot be selected simultaneously).
- Network Ports: Choose at least one network port, with the option to select multiple.
Once these fields are completed, click Proceed to continue.
Step 3: Reviewing and Confirming Settings
A summary page will display your selected settings:
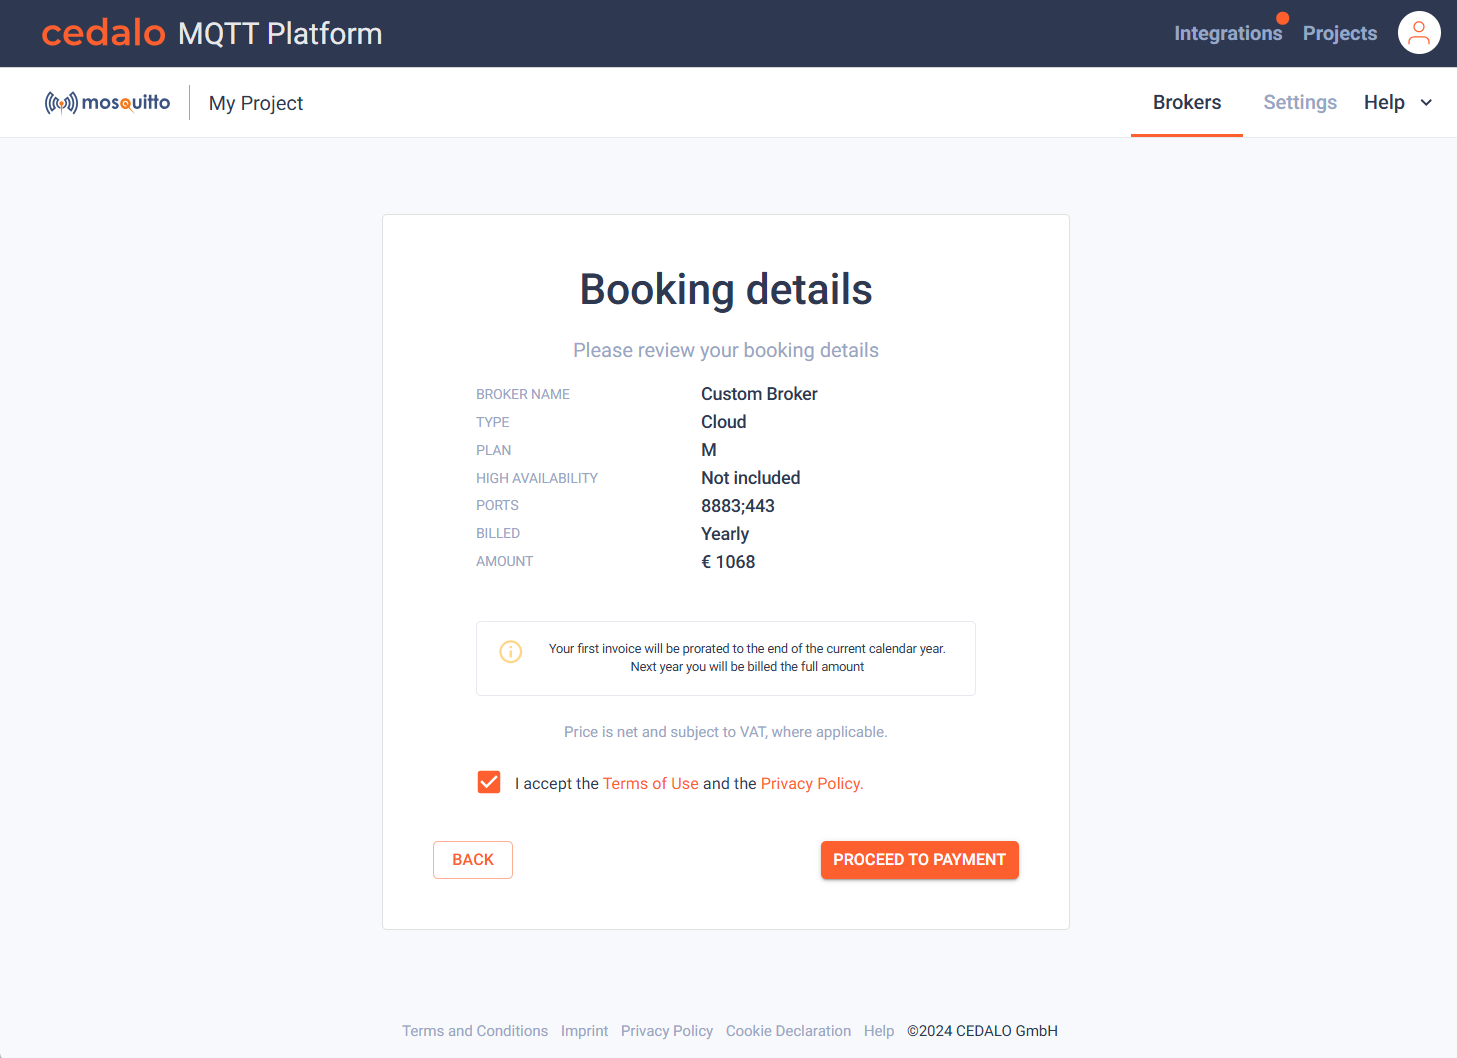
To proceed to payment, you must accept Cedalo’s Terms of Use and Privacy Policy. If you’ve previously provided a credit card, the broker can be booked immediately unless you choose to add a new payment method. For new subscriptions, you’ll need to enter payment details.
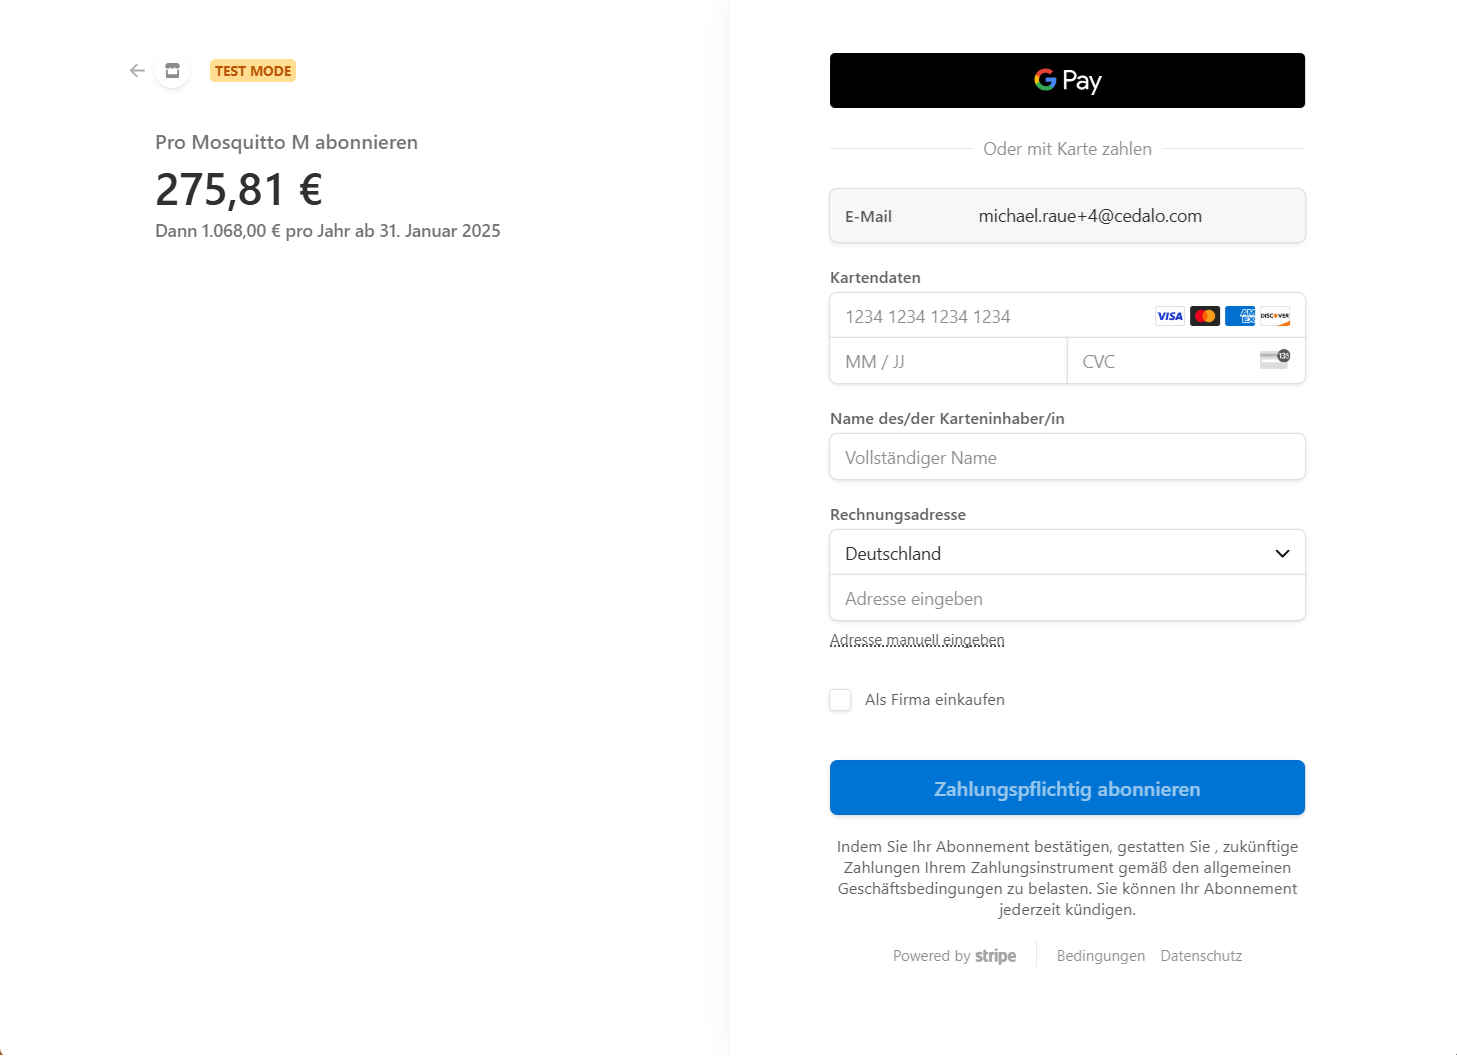
Step 4: Completing the Deployment
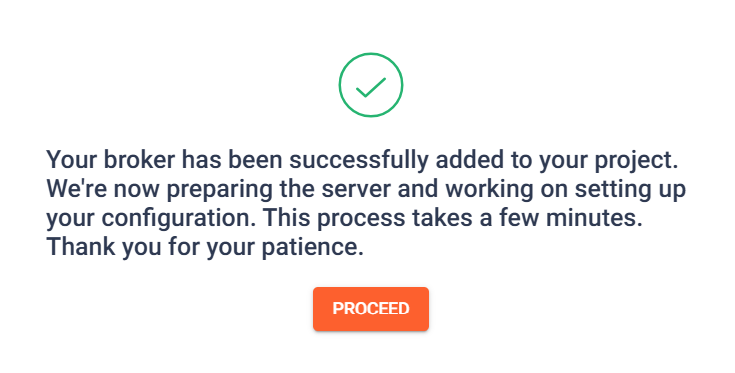
After successful payment, a confirmation dialog appears. A few minutes are typically required to deploy the broker, during which time its status will display as "Provisioning."
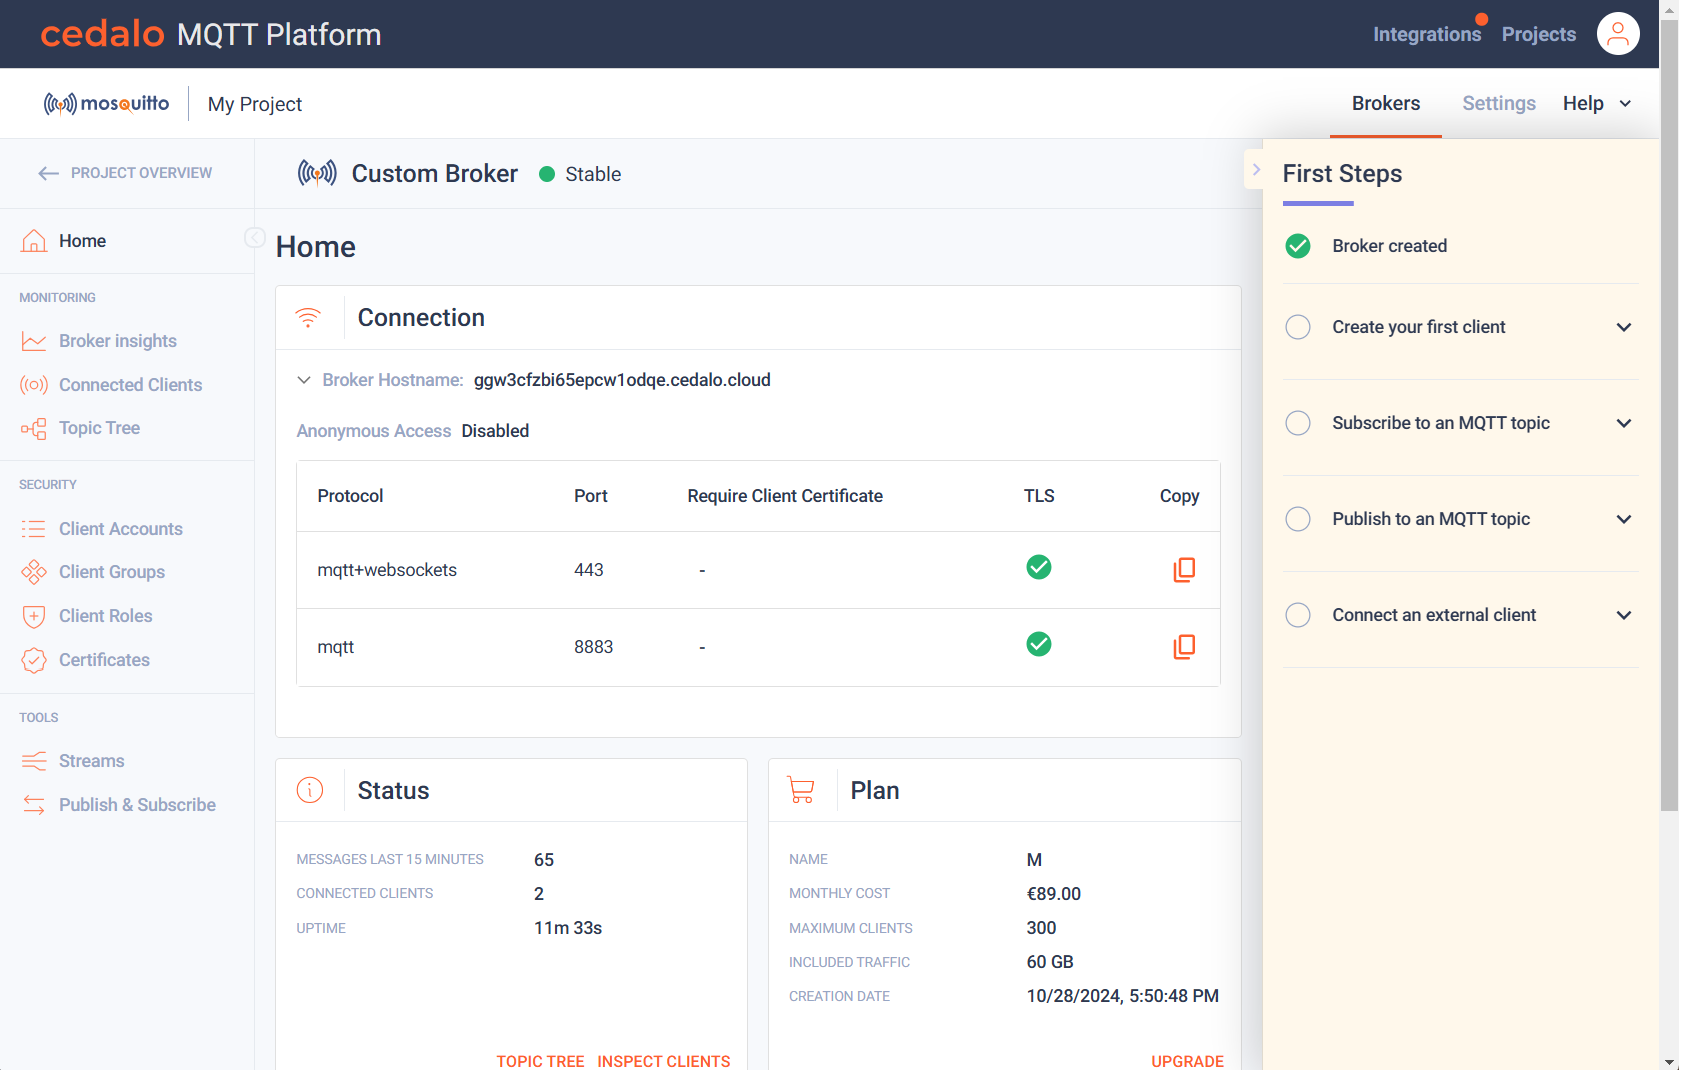
Once deployment is complete, the home screen for the new broker is displayed:
Getting Started
You can now begin using your broker. A First Steps guide is available on the right side of the screen to help you get started. Follow these steps, or close the section by clicking the arrow beside "First Steps." You can reopen this guide at any time by clicking the arrow again.