Projects Overview
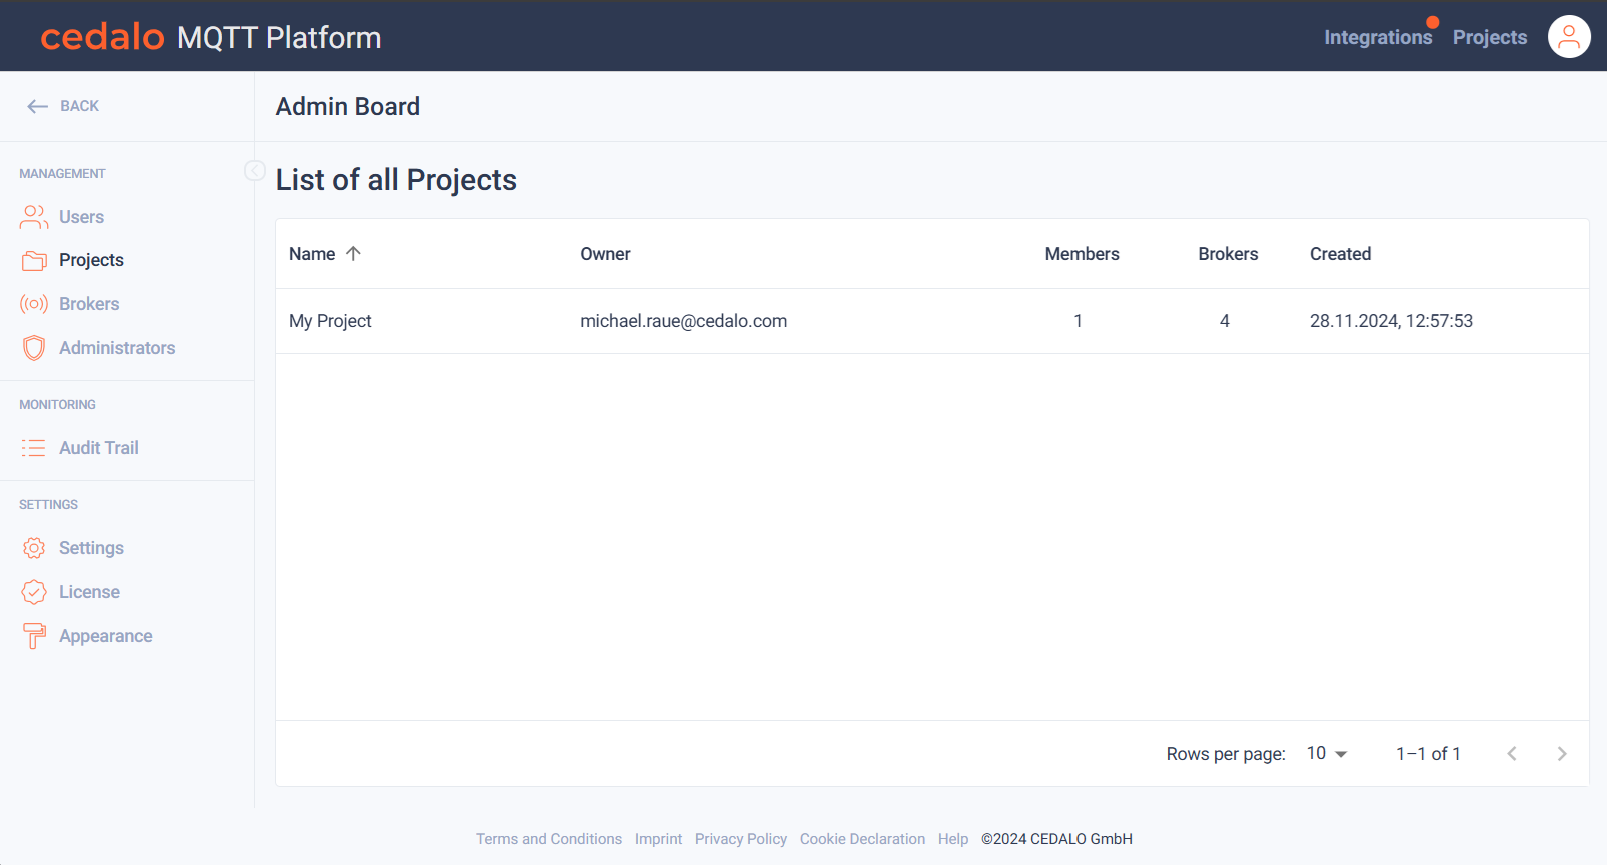
The project menu within the admin board allows you to easily retrieve an overview of all projects and some details about every project. After navigating to the admin board projects menu, the current list of projects is displayed:

Here you can view the name and owner of the project and you can see, how many members and brokers are assigned to the project.
View Project Details
By clicking on the project name, you can navigate to a page, that displays more details about the project.

The project details include the name of the owner of the project, when it was created and when the last change occurred.
By clicking on the Owner, you can view the user details of the owner. See also Users
Members
Below the project properties, you can the list of members that have been invited to the project.
In the Actions columns, you have the following options:
In the actions columns, you have the following options, when you are not in edit mode:
Click on the "Edit" button in to change the role. If you are in edit mode, you have the following options:
Add Members
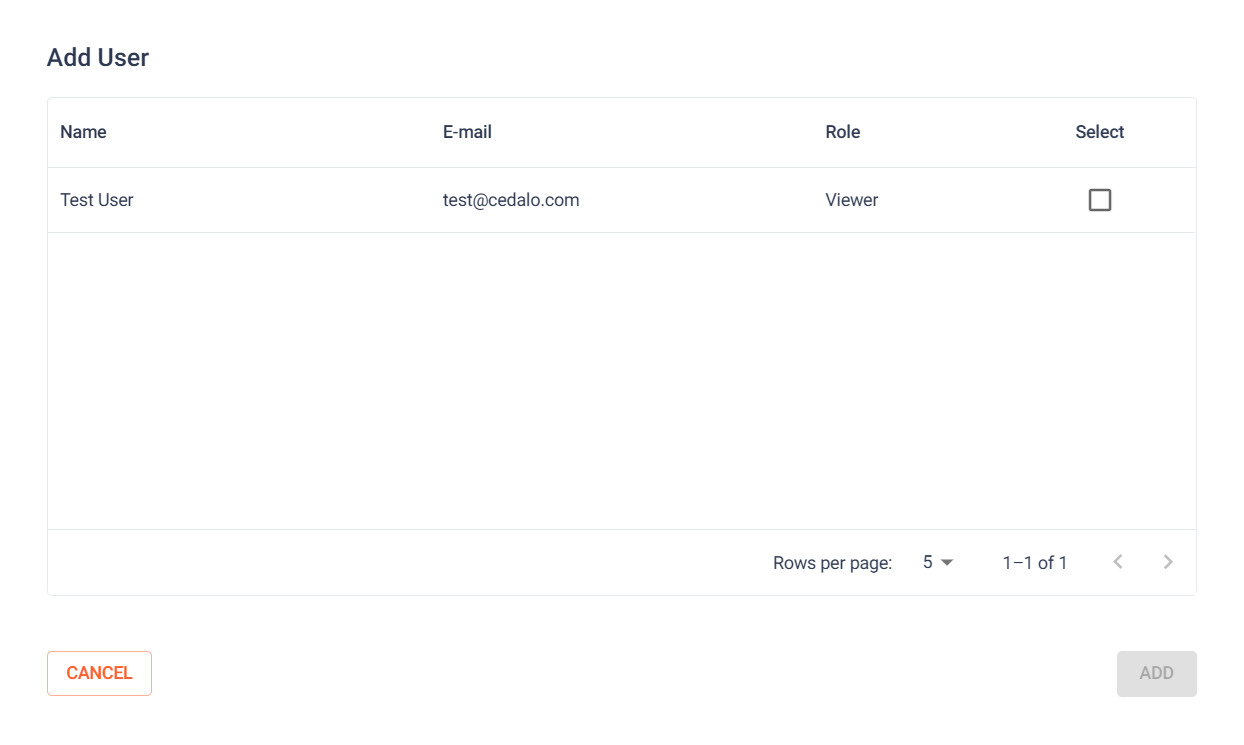
To add a new member to the project, click on "Add User". In the upcoming dialog, you can select a user to add as a member to the project.

You can select an existing user, by activating the checkbox at the end of the row. If you want to assign a role with more rights, than a viewer, double-click on the role column of the user and select another role.
Confirm your settings by clicking on the "Add" button or cancel, if you do not want to add a new member.
See also Add member to project to find an explanation for the possible roles and their meaning.