Assigning Members
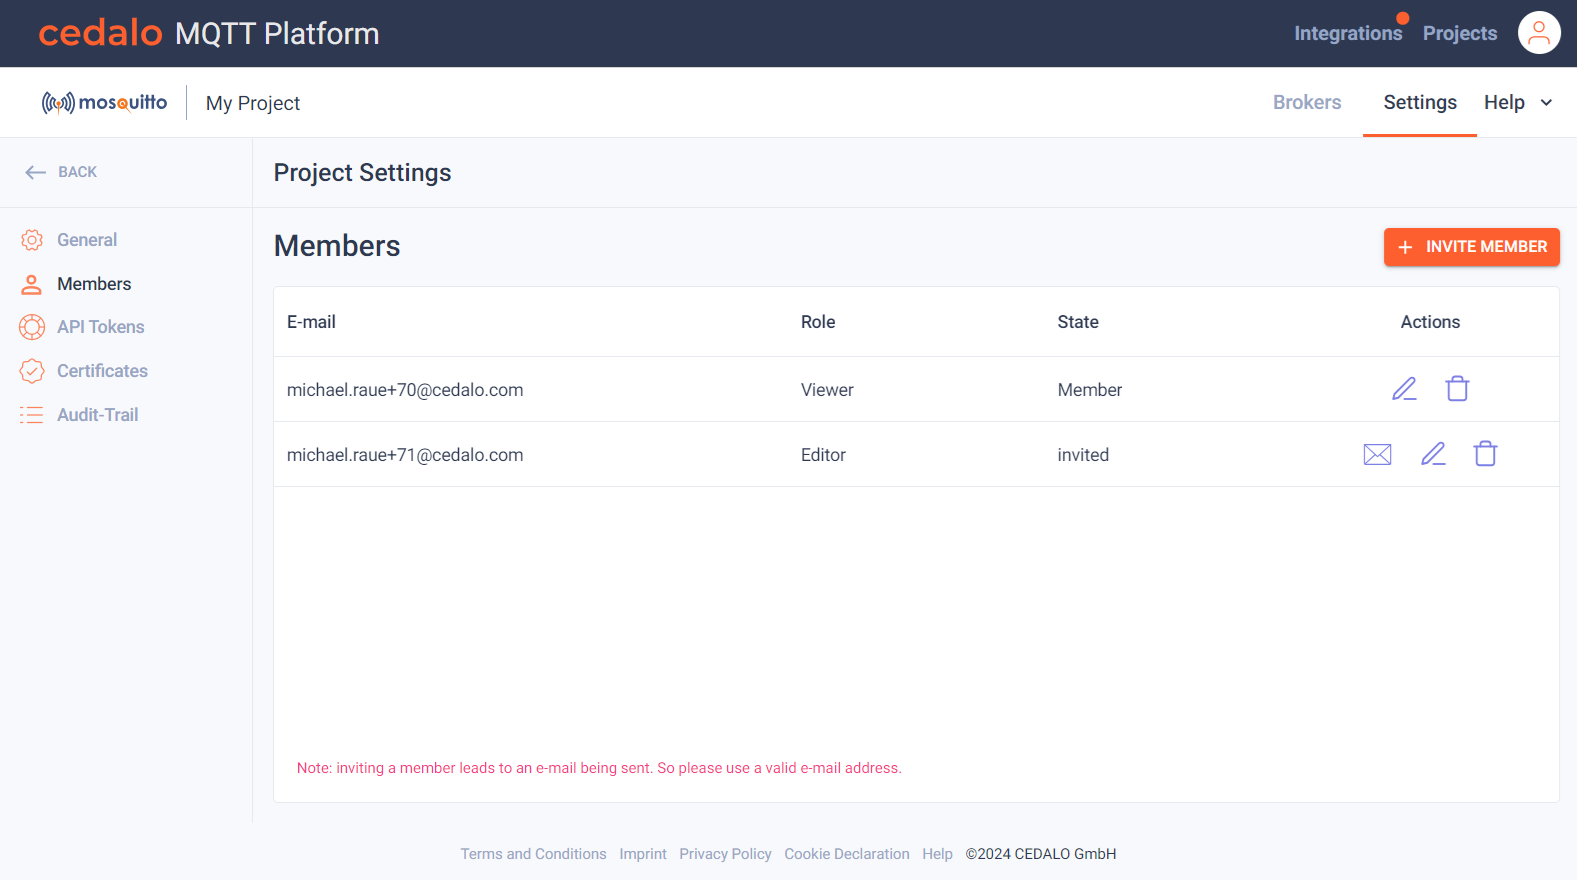
You can allow other users or account to view, modify or administrate your project to collaborate. Navigate to your project settings and select the members menu to manage members. Your current project members are shown in the members overview table:

In the image above you can see two members. One is created as a viewer and has accepted the invitation as a member. The other one has been invited, but did not accept the invitation yet by confirming the e-mail with the invitation.
Create and invite a new member
To create a new member, click on the "Invite Member" Button. A new member will be added to the current list of members ready for editing. You have to enter a valid e-mail address (needed for confirmation). You can not use the same e-mail address twice. You also have to define the role of the new member:
- Admin: The admin can manage and view all aspects of the project just like the owner.
- Editor An editor can administrate existing brokers, but not create or remove them. He is also not allowed to invite new users.
- Viewer A viewer can only view the project, but not change anything.
The state column shows "Member", after the invitation has been accepted and verified. Until then, the state is "invited".
Edit or delete a member
In the Actions columns, you have the following options:
In the actions columns, you have the following options, when you are not in edit mode:
Click on the "Edit" button in to change the properties, which are explained above. If you are in edit mode, you have the following options: