Project Overview
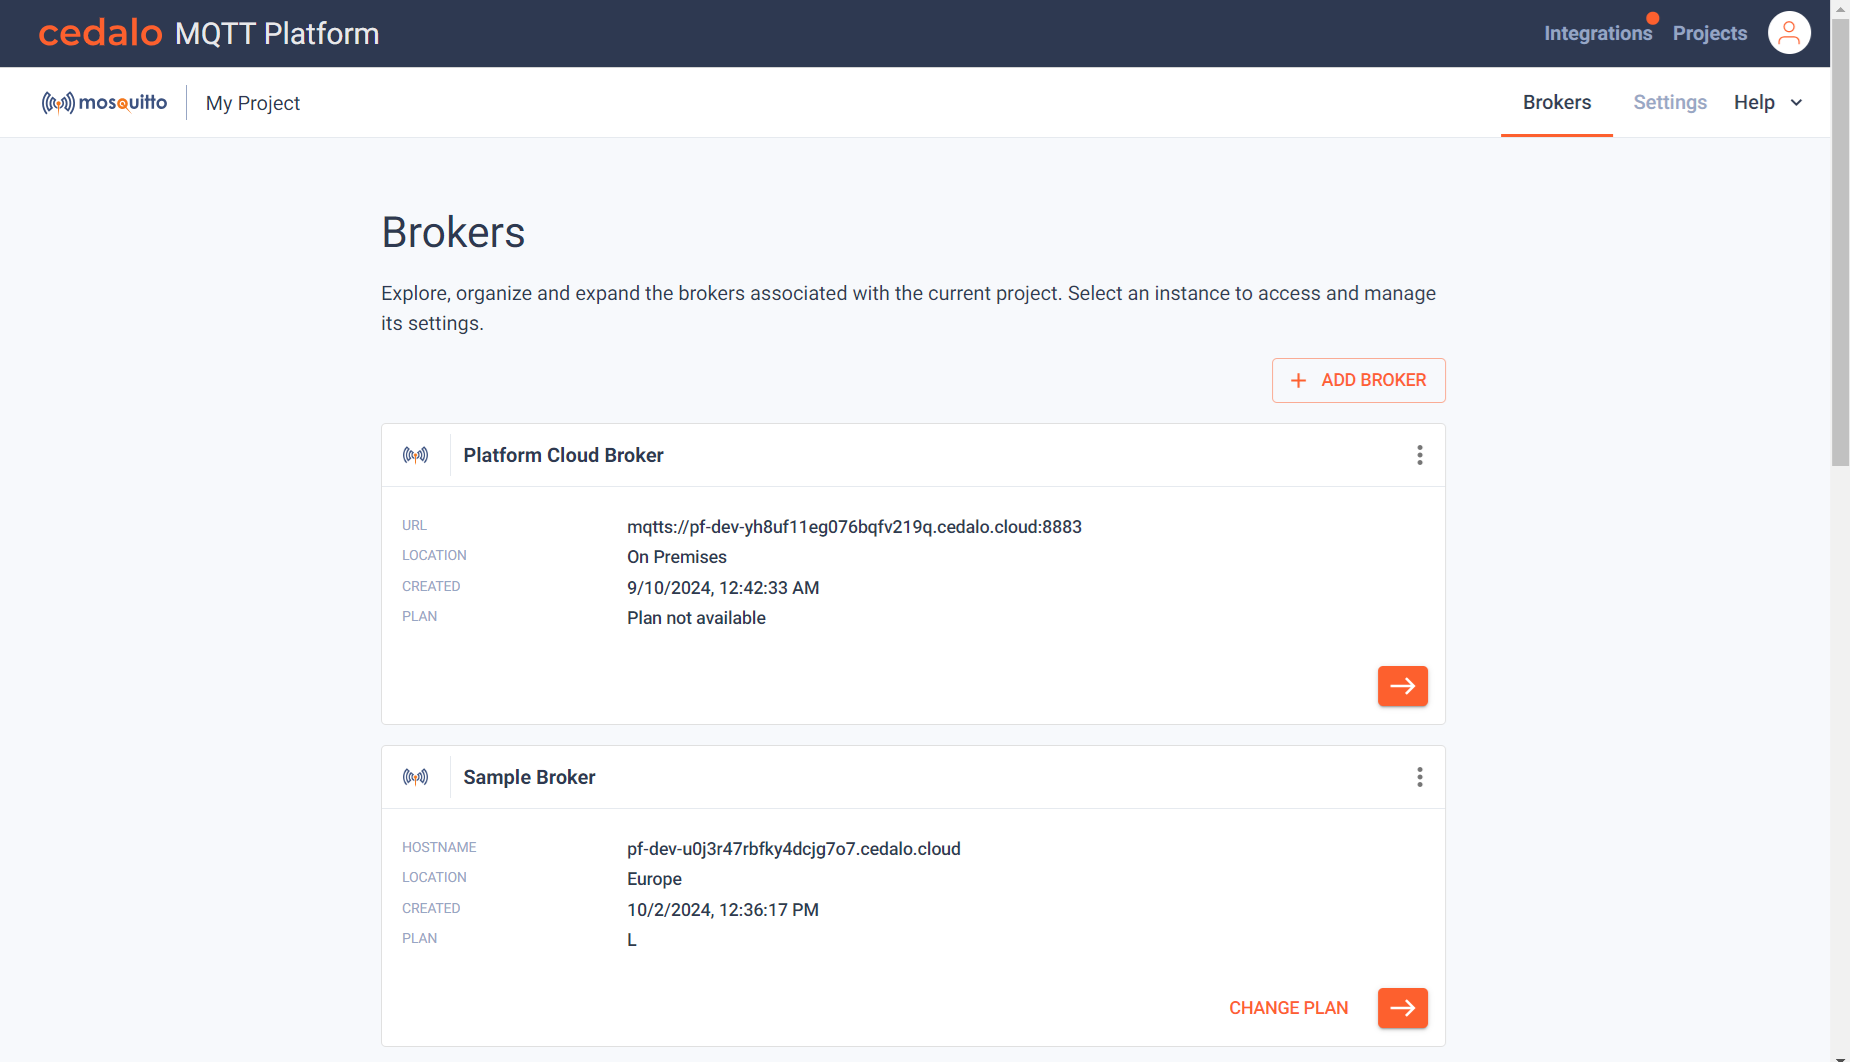
After clicking on a Project in the Projects Overview, a page showing the booked brokers is displayed.
Broker Listing

For each broker, the url, location, creation data and plan is shown. If you click on the broker card or on the arrow button, you are guided to the broker management page. If you want to change your license plan to book to enable or disable broker functionality, click on the "Change Plan" button.
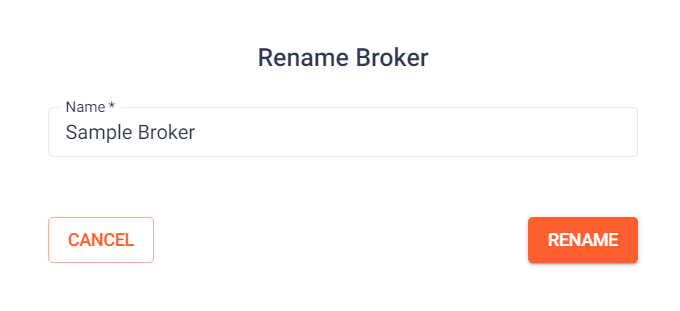
At the top right of the card, a menu, can be displayed by clicking on the three dots. Here you have the option to rename your broker or delete it. To rename, select the menu option and a dialog to enter a new name is displayed:

Just enter a new name and confirm that by clicking on "Rename".
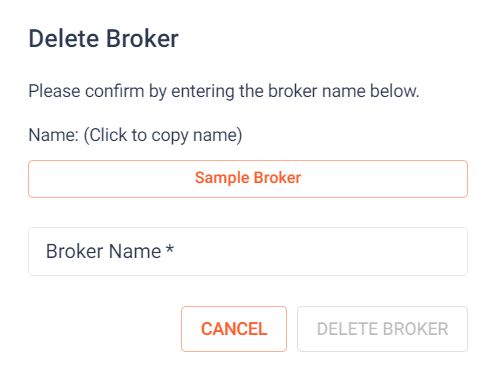
To delete a broker, select the "Delete" menu entry. The following dialog is displayed:

You have to enter the broker name to delete the broker. This prevents accidentally deleting a broker. Deleting a broker means, that the instance including all setting is irrevocably deleted. If you click on the button with the broker name, the name is copied into the clipboard and can be pasted into the broker name edit box.
Booking Trials
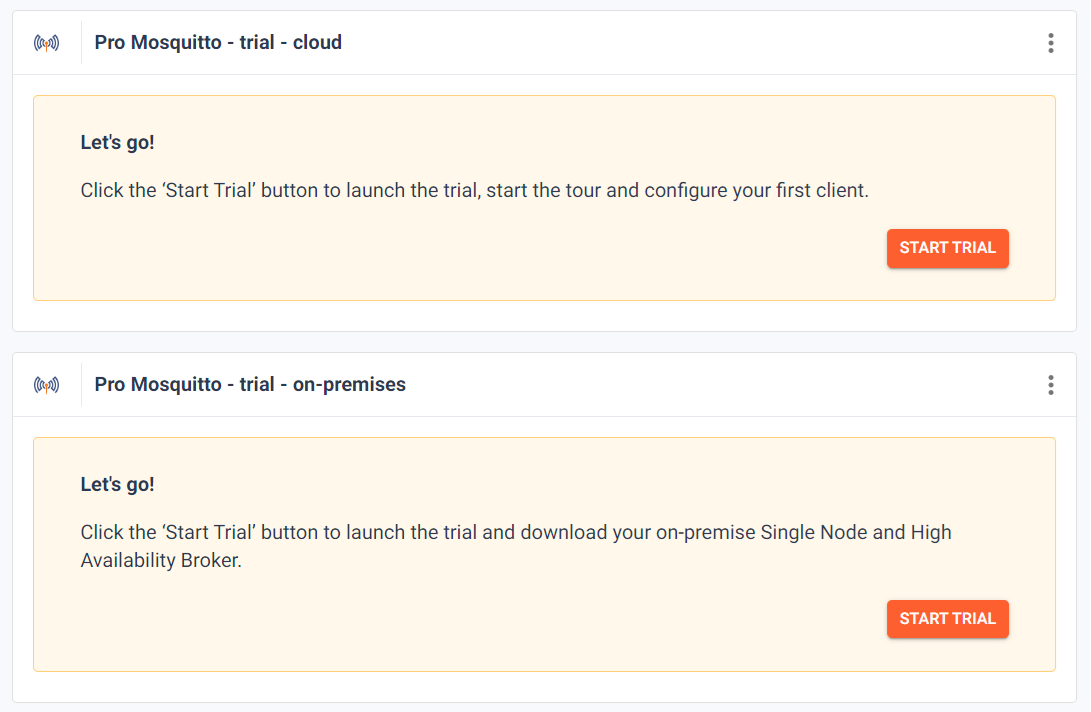
There are two special boxes within the broker list as long as you did not book trial brokers:

These allow you to book a cloud trial broker or an on-premises trial broker. Once you booked one of these brokers, the card will not be displayed anymore. Within your account, you can book trial brokers of each type only once. You can use the menu at the top left of the trial card to remove these options.
Add Broker
Depending on your Cedalo MQTT Platform installation, you can add a broker by booking a new broker (cloud) or by registering an already deployed broker (on-premises).
Cloud
The cloud version allows you to book a broker, which will then automatically be added to your project. See Adding Cloud Broker for more infos.
On-Premises
If you are working with a local version of the Cedalo MQTT Platform, you can add a broker to the project by entering a name and the authentication infos. See Adding On-Premises Broker